How to Get a Prototype Made: A Step-by-Step Guide
Every production part starts somewhere. For most engineered products, it starts with a prototype — a physical version of the design built to test whether the concept actually works before committing to full-scale manufacturing.
But for many engineers and product managers, the process of going from a drawing or product idea to a real, physical part remains unclear. How does a prototype actually get made? Who makes it? What does it cost? And what happens after?
This guide answers all of those questions. We walk through the step-by-step process of getting a precision-machined prototype made, explain why the prototype phase deserves serious investment, and share what you can expect to pay. We’re also going to address something most prototype guides skip entirely: what it means to work with a manufacturer who can take you from that first prototype all the way through production.
What “Getting a Prototype Made” Actually Means in Precision Manufacturing
The word “prototype” gets used loosely. In some contexts, it means a 3D-printed concept model used to visualize a form. In precision manufacturing, a prototype means something more specific: a fully machined part, produced from real engineering materials, built to print, and tested to validate that the design performs as intended under real operating conditions.
For engineers working in industries like aerospace, medical devices, industrial automation, defense, or semiconductor equipment, a printed concept model is rarely sufficient. The prototype needs to be made from the same class of material — aluminum, stainless steel, acetal, PEEK — and machined to the same tolerances that production parts will require. Only then can the team know whether the design actually works.
That distinction matters when choosing who brings your prototype design to life. The shop you choose for a precision-machined prototype should also be capable of manufacturing the production part. If they can’t, you’ll spend time requalifying a new vendor later, introducing risk at one of the most critical points in your product development cycle.
Step-by-Step: How to Get a Prototype Made
The path from concept to prototype involves more steps than most people expect. Each one builds on the last, and skipping ahead typically creates problems that circle back to cost time and money.
Step 1: Define Your Requirements and Document the Concept
Before any machining begins, the design needs to be clearly defined. That means identifying the part’s function, the environment it will operate in, the loads or stresses it will experience, and the performance specifications it must meet.
A design that starts with vague requirements rarely produces a useful prototype. Engineers who invest time up front defining tolerance requirements, material constraints, and functional boundaries tend to produce prototypes that answer real questions — rather than prototypes that look right but fail during testing.
At minimum, this step should produce a written list of requirements:
- What the part needs to do
- What it will interface with
- What it cannot do
- What success looks like
What this looks like in practice
Our client, a telecomms equipment provider for the defense industry, makes servers and switches in a rugged, durable, and portable format. The products and all their components need to withstand impact and high heat in environmental conditions.
They came to us with a few pieces ready for manufacturing and wanted to make sure they fit together as designed. We started by providing design for manufacturing feedback to make sure their plan was optimized for low costs and as few steps as possible.
Then, we quickly produced a few of the parts without final finishes. Once the client verified that the pieces performed as they should, we had all the information needed to start manufacturing with full finishes.
Step 2: Create Engineering Drawings or CAD Files
To get a part machined, you need a way to communicate the product design to the manufacturing team. CNC machining is programmed from digital files, so this means producing either a 3D CAD model (typically in STEP or SolidWorks format) or a detailed 2D engineering drawing — ideally both.
The CAD 3D model defines the geometry. The engineering drawing communicates the critical dimensions, tolerances, surface finish requirements, and any notes that the machinist needs to produce the final product correctly. Together, these two documents are the foundation of any prototype machining project.
Step 3: Choose Your Manufacturing Method
For precision machined prototypes, the primary manufacturing methods are CNC milling, CNC turning, and multi-axis mill-turning. The right choice depends on the geometry of your part.
CNC milling is suited for prismatic parts — housings, brackets, plates, and components with flat surfaces and pocketed features. CNC turning handles cylindrical parts like shafts, bushings, and spacers efficiently. Multi-axis mill-turning combines both capabilities in a single setup and is particularly effective for complex parts with both rotational and milled features.
Additive manufacturing (done with a 3D printer) is sometimes considered for early proof-of-concept models. It’s faster and less expensive for simple visual models, but it cannot reliably replicate the material properties, surface finish, or dimensional accuracy of a machined part. For functional testing, fit checks, and regulatory validation, CNC machined prototypes are the standard in precision engineering environments.
What this looks like in practice
We typically recommend the manufacturing process that’s best for a customer’s part. Once we begin making the parts, we’re able to make more specific recommendations, such as adjusting features, tolerances, or other specifications.
With our same telecomms equipment provider for the defense industry, we had one part that looked like it should have been milled, but we put it on the multi-axis machine and it performed really well. This is a more efficient manufacturing method — instead of starting on a turning machine then moving to milling, we were able to do both at once.
Step 4: Select Your Material
Material selection for a working prototype should reflect the material that will be used in production. Prototyping in a substitute material can produce misleading test results — a part that passes validation in one material may behave differently in another.
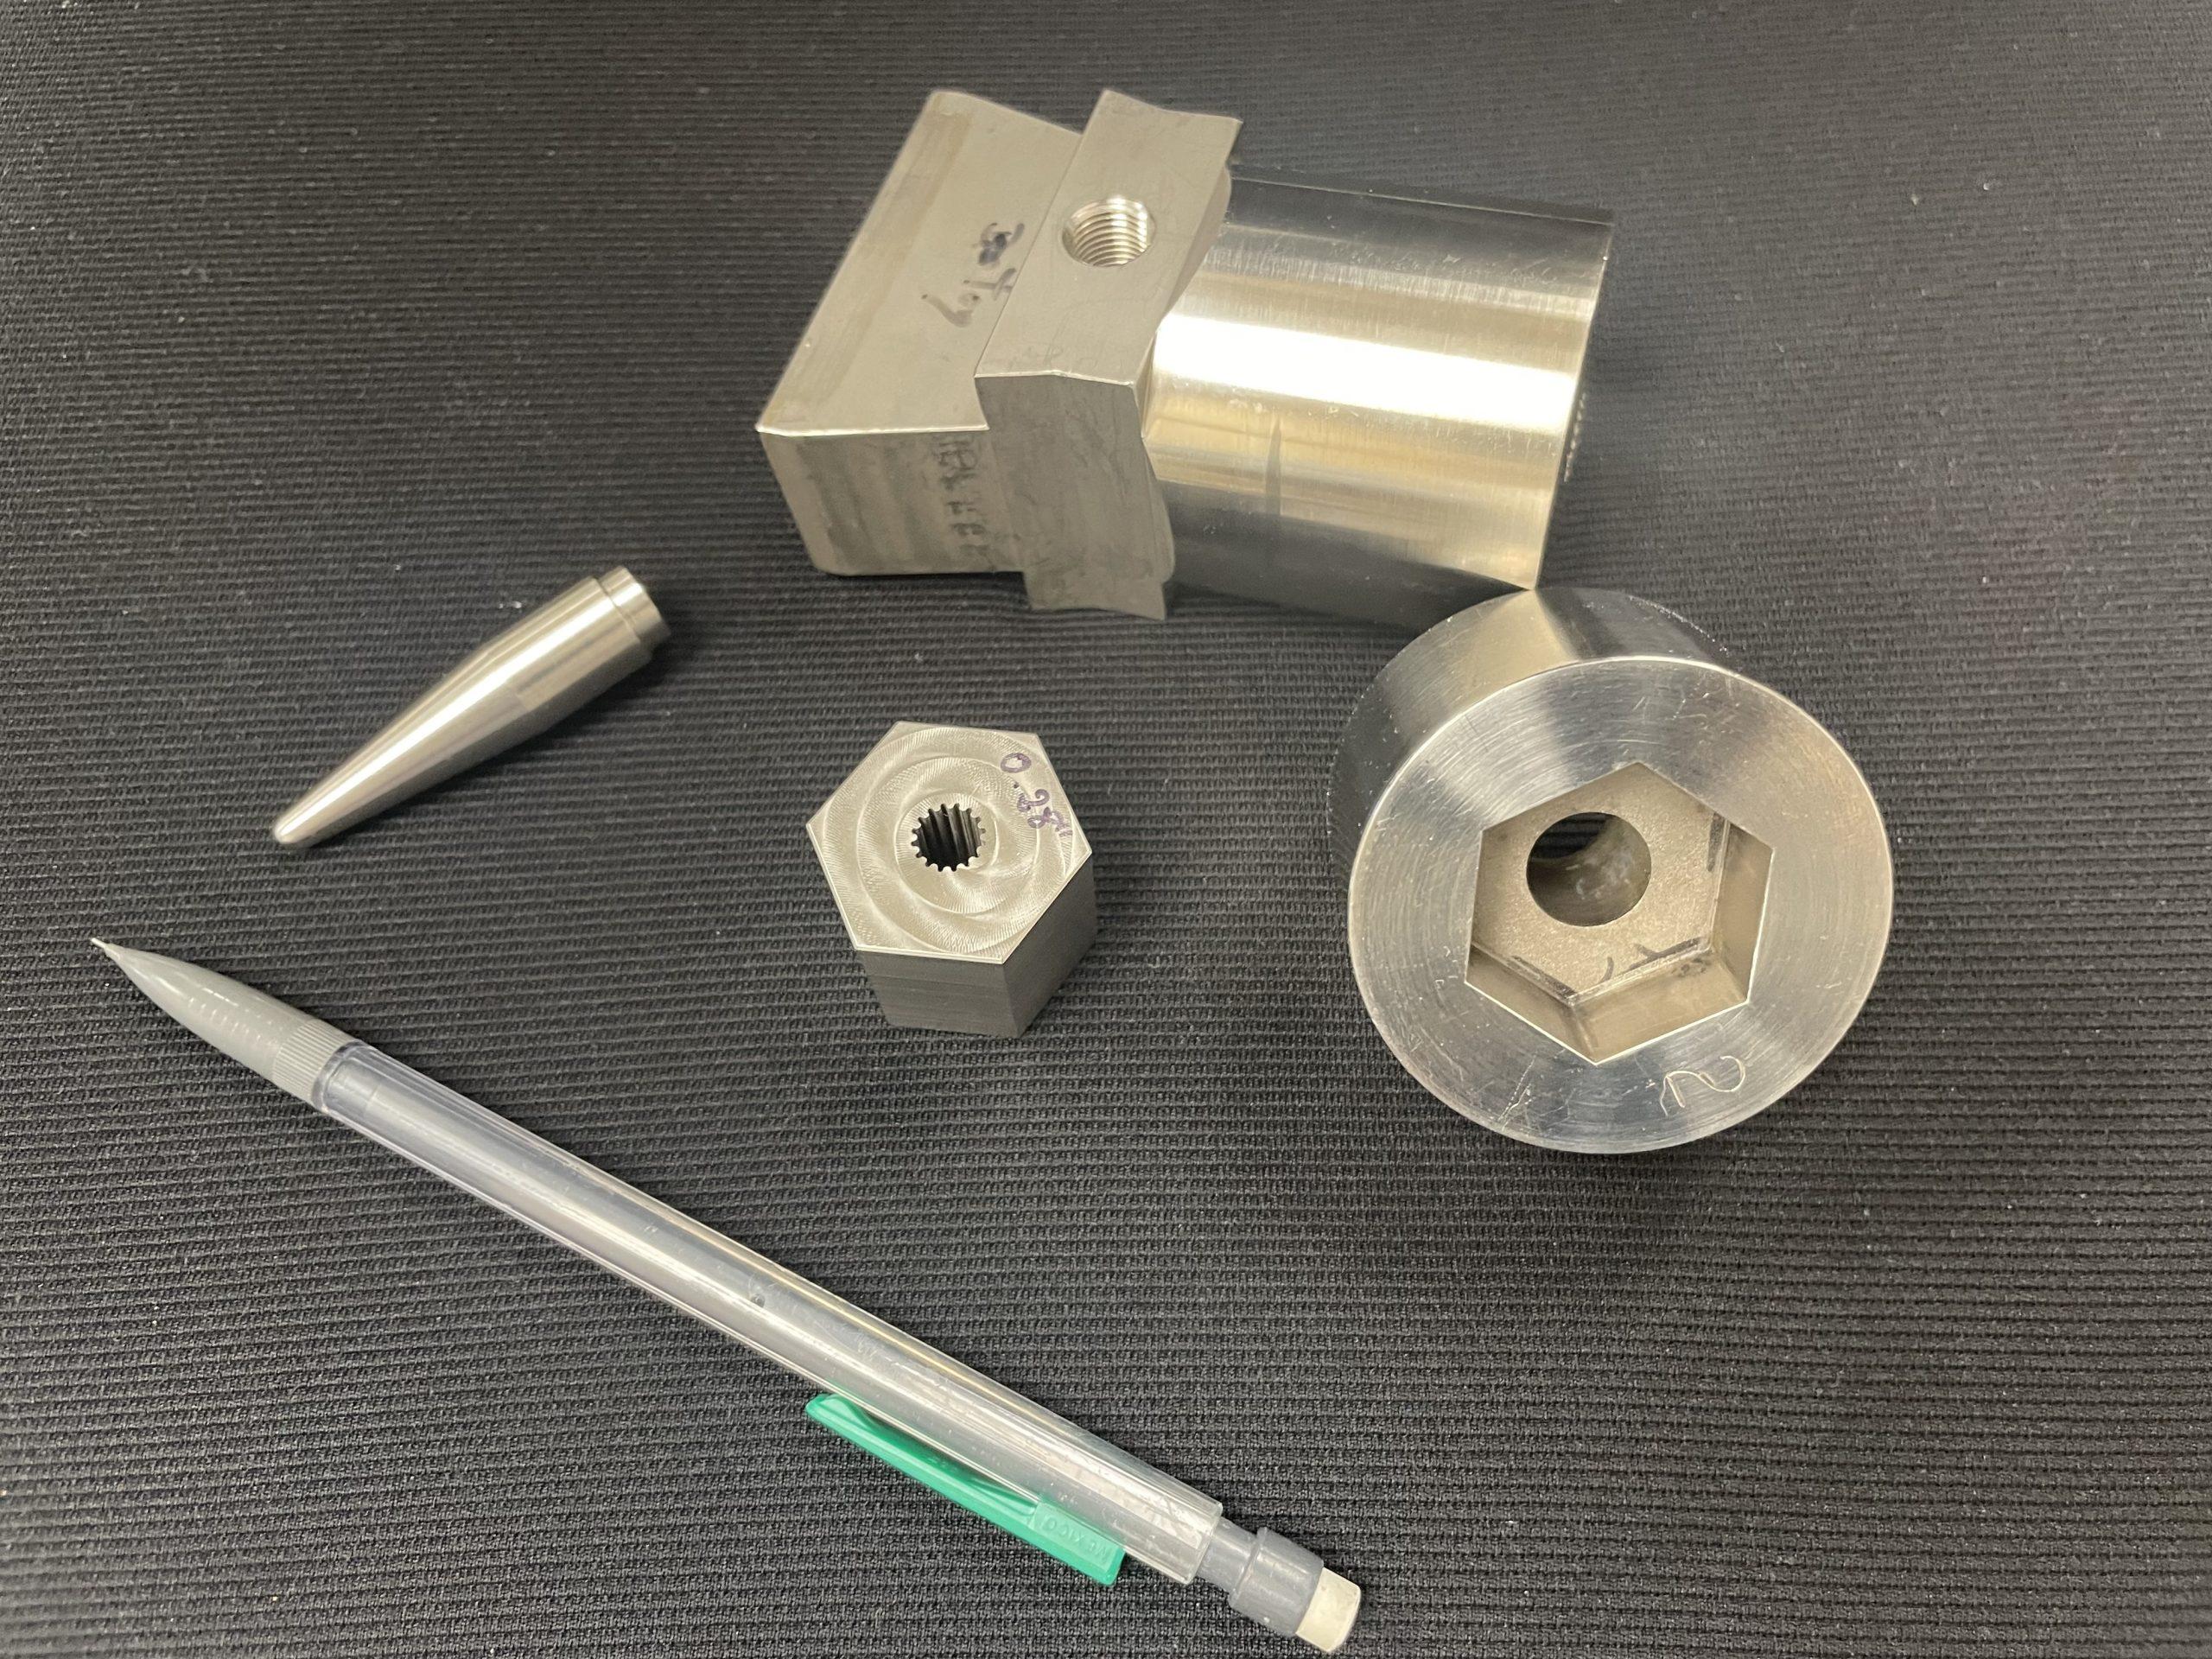
Common materials for precision machined prototypes include aluminum alloys (6061, 7075), stainless steel (303, 304, 316L), alloy steels, titanium, and engineering plastics like acetal (Delrin), nylon, and PEEK. Each has distinct machining characteristics, tolerance capabilities, and performance profiles that the manufacturing team should understand well.
What this looks like in practice
Most clients have their materials selected ahead of time, but we can and do make suggestions. Our defense client thought their part was best on stainless steel. We ran samples on stainless and aluminum so they could test the different materials and pick what worked best.
If you’re unsure which material is right for your application, a prototyping company with strong engineering support can help evaluate the tradeoffs before you commit.
Step 5: Choose a Manufacturing Partner
Not all machine shops are set up to handle the prototyping process well. A shop optimized for mass production may not have the setup flexibility or engineering bandwidth to support a one-off or small-batch product prototype with tight tolerances and fast turnaround.
Look for a shop that has demonstrated experience with your material and part complexity, can provide design for manufacturability (DFM) feedback, maintains documented quality processes, and — critically — is capable of scaling into production when your design is finalized. Choosing a partner who can take you from prototype to production is one of the most under-appreciated decisions in early-stage new product development.
What this looks like in practice
Our defense client picked Firstar because we had a strong relationship with an engineer that they had worked with previously, so they knew they could rely on our engineering and machining teams. They were confident that they’d get a great product and high consistency.
Step 6: Request a Quote and Review the Design
With drawings and material selection in hand, the next step is to submit your files for a quote.
In a thorough quoting process, the machine shop will review the drawings for:
- Manufacturability, including identifying any features that may be difficult to machine
- Tolerances that would be difficult to hold
- Design elements that could be simplified without affecting performance
What this looks like in practice
At Firstar, we accommodate rush timelines as much as possible. Sometimes our customers have product demos coming up for their buyers and need the prototype right away. As long as we have the machine availability, we start ASAP.
This review stage is often where the most valuable early feedback happens. An experienced machinist or applications engineer may flag a tolerance that is tighter than necessary, a feature that requires an additional setup, or a geometry that could be adjusted to be more cost-effective and reduce lead time without any functional tradeoff. Gather feedback and take it seriously before cutting material to save time and money.
Step 7: Prototype Production Begins
Once the quote is approved and the design is confirmed, machining begins. For CNC machining, this involves programming the toolpaths from your CAD file, setting up fixtures to hold the part during machining, and running the part through the programmed operations.
Prototypes are typically produced as single parts or very small batches (10-25 pieces, including all iterations), which means the setup cost is spread across fewer pieces — one reason prototype machining costs more per unit than production runs. But this phase is also where the design gets its first real test: Does the programming translate the drawing correctly, and does the part machine cleanly in the chosen material?
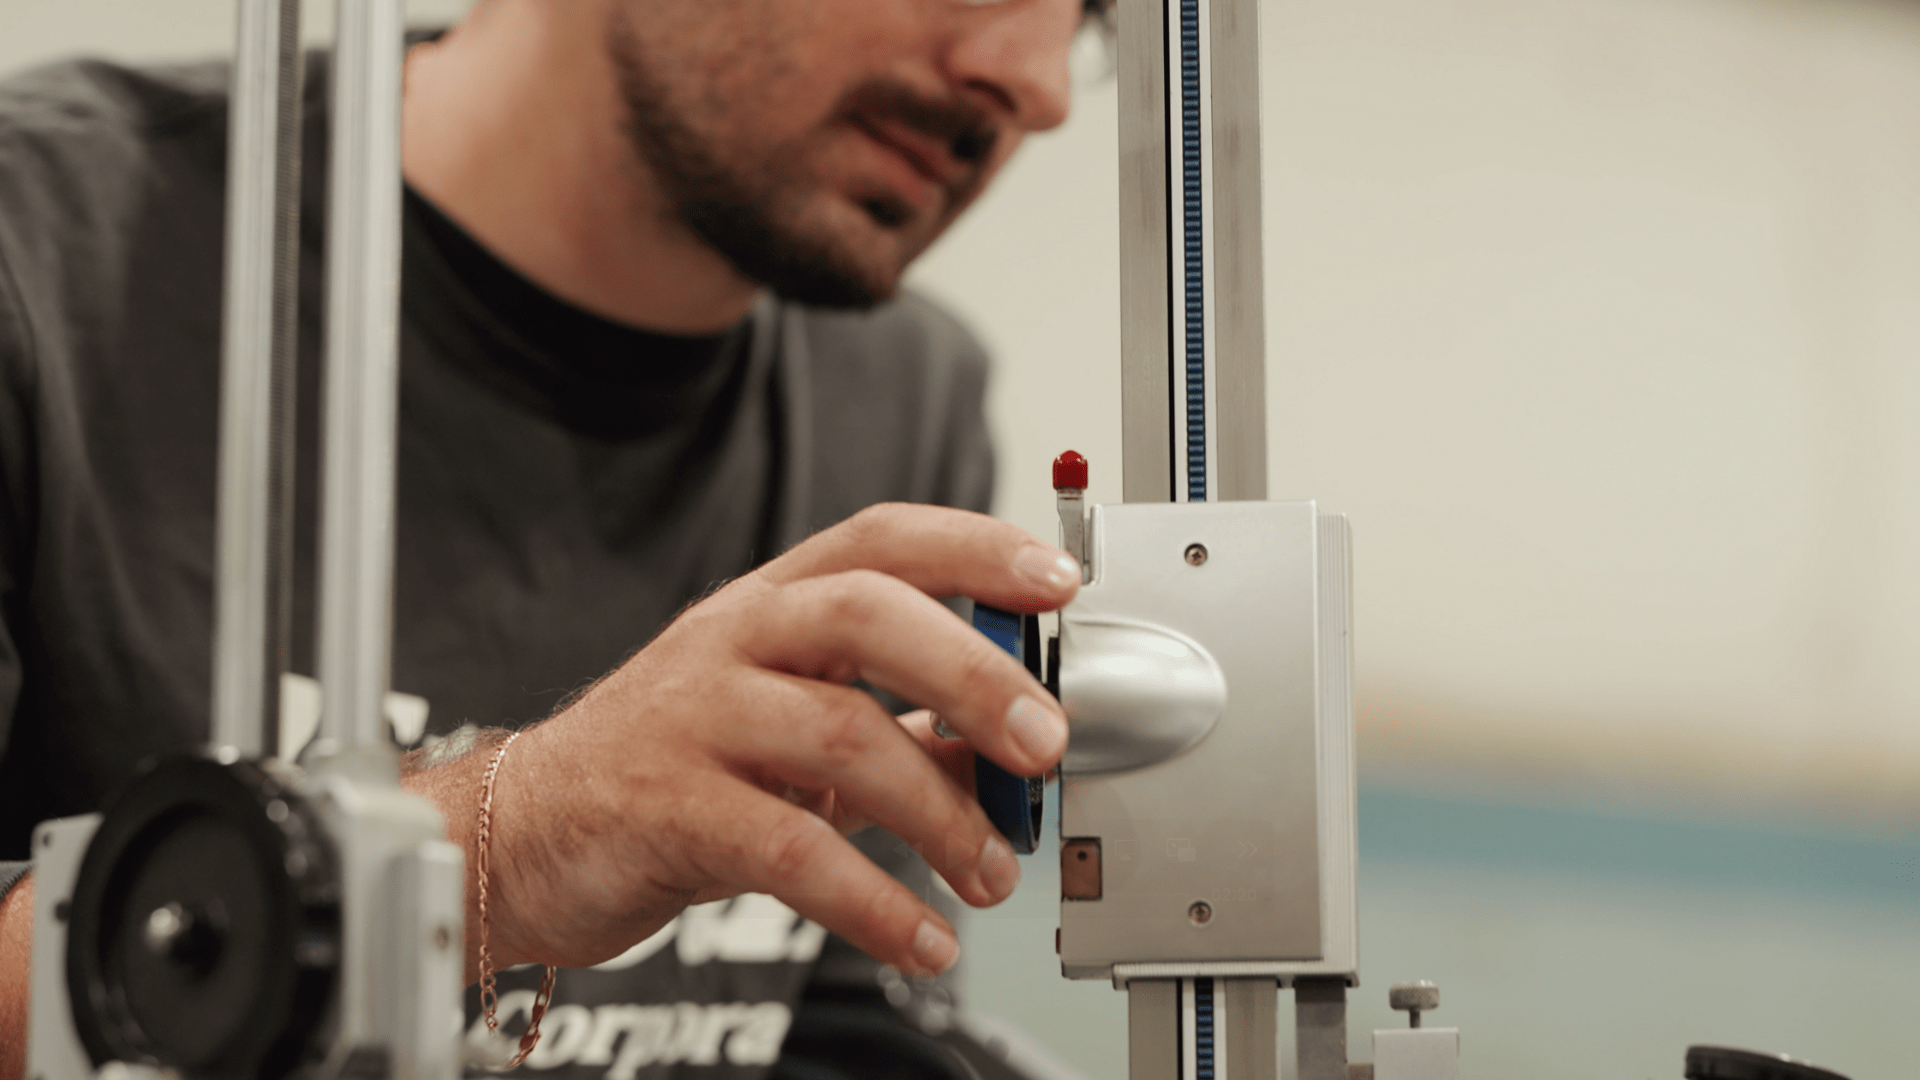
At a shop with strong quality processes, the first inspection will document the dimensions of the prototype against the drawing before the part ships. This creates a documented record of the actual part and the baseline for any design revisions.
Step 8: Test, Evaluate, and Iterate
The prototype exists to answer questions. Once it’s in hand, the engineering team tests it against the requirements defined in Step 1. Does it fit the mating components? Does it perform under load? Does the surface finish meet the application requirements? Does anything in the design need to change?
For most products, the answer is yes — at least in some small way. Iteration is not a sign of failure; it’s the point of prototyping. The goal is to discover and resolve design issues now, when change is lower-cost, rather than after tooling or production commitments have been made. Most successful product development programs go through two to four prototype iterations before the design is locked.
What this looks like in practice
When we’re adapting an existing design, we typically do 1-2 iterations. If it’s a new design, we typically do about 4-6 iterations with our customers.
Why the Prototype Phase Is Worth the Investment
In fast-moving product development programs, there’s always pressure to skip straight from concept to production. The prototype phase can feel like a delay, but it isn’t. It’s the point in the development cycle where the cost of change is lowest and the value of information is highest.
Here is why investing seriously in prototyping pays off:
It reveals design flaws before they become production defects. A flaw caught during prototype testing costs a drawing revision and a new machined part. The same flaw discovered after a production commitment has been made can cost tens of thousands of dollars and weeks of schedule.
It validates material and process selection. Assumptions about how a material will perform under load, temperature, or chemical exposure need to be confirmed with physical testing. Creating a physical product makes that possible before the design is finalized.
It enables fit and function testing with real mating hardware. CAD models look perfect on screen. Physical parts test the interfaces, clearances, and assembly sequences that drawings can miss.
It supports regulatory and compliance documentation. In regulated industries like medical devices, aerospace, and defense, design validation requires documented physical testing of production-representative parts. The prototype phase creates that record.
It reduces risk before capital commitments. If the prototype reveals that the design approach needs a significant change, it is far better to learn that before a production contract is signed or inventory is ordered.
It builds internal and external confidence. A functional prototype is a powerful communication tool with stakeholders, customers, investors, and crowdfunding audiences. It moves the conversation from abstract to concrete.
It lays the foundation for a smooth production transition. When the prototype has been made by the same shop that will manufacture the production part, the programming, fixturing, and process knowledge already exist. The transition to production becomes an evolution rather than a restart.
How Much Does It Cost to Get a Prototype Made?
Prototyping service costs vary considerably based on part complexity, material, tolerances, and the number of setups required. There is no universal price, but the following ranges provide a general framework for outsourcing the process.
Simple Machined Prototype
$300-$1,500 per part
This would be a prototype with straightforward geometry, standard tolerances, and easy-to-machine, widely available materials like aluminum.
Complex Machined Prototype
$2,000-$10,000 or more per part
This type of prototype involves parts with tight tolerances, multiple setups, specialized processes, or difficult-to-machine materials like stainless steel or titanium.
Setup cost is a significant factor in prototype pricing. When a part is machined as a single piece or a very small batch, the time spent programming, setting up fixtures, and configuring the machine is absorbed by a small number of parts. As quantity scales, the per-unit cost drops substantially, which is why production economics look fundamentally different from prototype economics.
Several factors drive prototype cost up or down.
- Material cost varies widely: materials like carbon steel and aluminum are low-cost, while exotic metals like molybdenum or Inconel carry premium costs that significantly increase the base price of the part.
- Complexity and setup count drive labor and programming costs, so a part that can be completed in two setups will cost less than a part requiring five.
- Tight tolerance requirements affect machining time and inspection requirements, since critical fits and very precise dimensions require slower feed rates, more careful tool selection, and more thorough inspection.
- Quantity is the biggest lever of all — even going from one prototype to three pieces can reduce per-unit cost meaningfully as setup costs spread across more parts.
When evaluating quotes for prototype work, the lowest price isn’t always the right choice. A shop with strong DFM support, robust quality documentation, and the ability to carry the work into production is worth paying for.
From Prototype to Production: Why Your Manufacturing Partner Matters
Many product developers make a mistake that seems small in the moment but creates real problems later: They use one shop for prototyping and a different shop for production.
The rationale usually makes sense. A fast-turnaround prototype shop gets the first parts quickly. Then, when volume picks up, a different manufacturer is selected based on capacity or pricing. The problem is that switching manufacturers resets the manufacturing knowledge clock. The new shop has to reprogram the parts, re-establish setups, requalify tolerances, and rebuild the institutional knowledge that the original shop developed through the prototype iterations.
In regulated industries, like aerospace, defense, and medical, that requalification process can trigger formal documentation requirements and delay production timelines. In any industry, it introduces risk exactly when teams want to be building confidence.
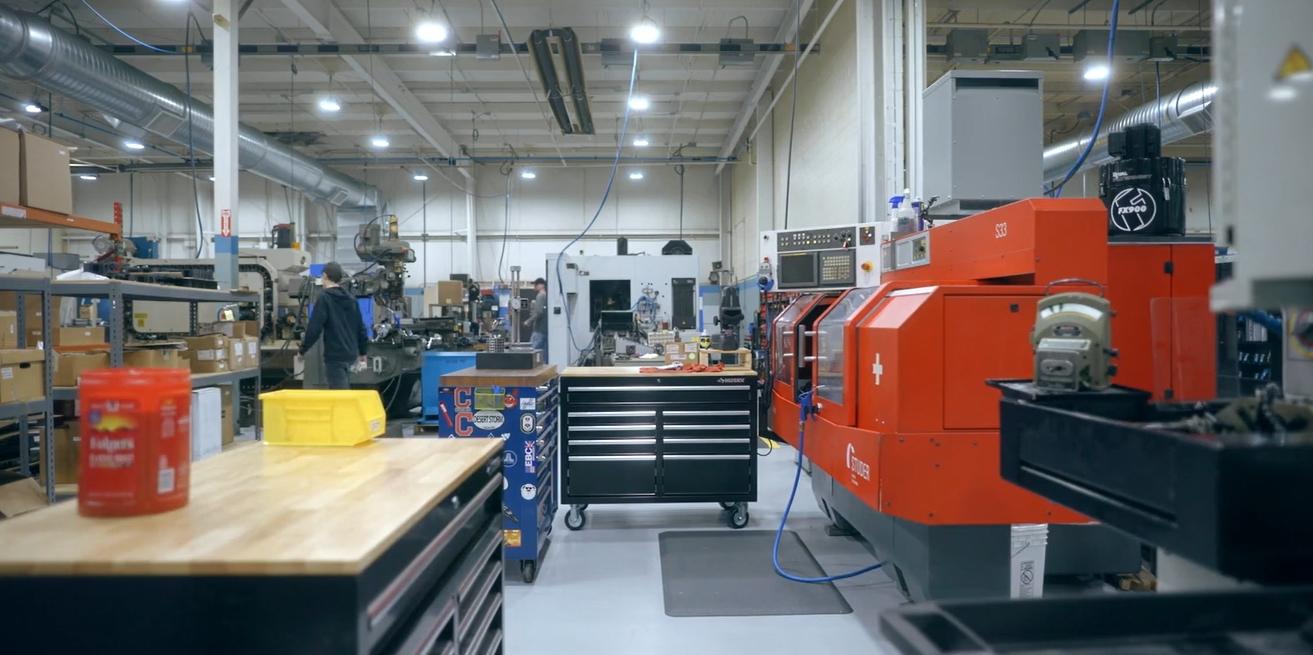
At Firstar, prototype machining is not a separate service from production machining — it’s the beginning of the same process. We work with engineering teams during prototype development specifically because we intend to be the manufacturing partner when the design is ready to scale. Our shop floor is equipped with horizontal and vertical CNC milling centers, multi-axis mill-turn machines, wire EDM, OD grinding, and advanced turning — the same capabilities used for both prototype and production work.
That continuity matters. When a prototype has been through our shop, we know the part. We know what the toolpaths look like, what fixturing the geometry requires, and where the critical features are. Moving from three prototype parts to three hundred production parts is a step forward, not a restart.
Frequently Asked Questions About Getting a Prototype Made
What file format does a machine shop need to make a prototype?
Most CNC machine shops work from STEP (.stp or .step) or SolidWorks (.sldprt) files for 3D geometry, paired with a 2D drawing in PDF or DWG format that communicates tolerances, surface finish requirements, and critical notes. If you only have one prototyping tool or the other, most shops can work with what you have — but both together gives the machinist everything needed to produce the part correctly.
How long does it take to get a prototype machined?
Lead times for precision machined prototypes typically range from one to six weeks depending on part complexity, material availability, and shop workload. Simple parts in stocked materials can sometimes be turned around in as little as a week. Complex parts with long-lead materials or many operations take longer. Communicating your timeline requirements during the quoting process allows the shop to confirm whether they can meet it before work begins.
Can I get a prototype made if I don’t have engineering drawings yet?
It depends on the shop and the part. Some machine shops can work from rough sketches or early-stage CAD models to produce early concept prototypes. However, for precision work with defined tolerances, a formal drawing is necessary to ensure the part is made correctly and that subsequent iterations can be compared accurately.
What’s the difference between a prototype and a production part?
Functionally, a precision-machined prototype and a production part can be identical — same material, same tolerances, same process. The difference is in quantity and the state of the design. A prototype is made during the validation phase, when the design may still change. A production part is made from a locked design at higher volume. When the same shop makes both, the transition is straightforward.
How do I know if a machine shop can also manufacture my product at production volumes?
Ask directly. Ask what their standard production run sizes look like, what equipment they run, what industries they serve, and whether they have customers they’ve worked with from prototype through ongoing production. Shops with real production experience will be able to speak clearly about lead times, capacity, quality systems, and process control.
Ready to Move From Concept to Part?
The prototype phase is where good invention ideas become proven ones. For engineers and product developers working in precision manufacturing environments, getting the prototype right — made from the right material, to the right tolerances, by a shop that can carry the work forward — sets up everything that comes after.
If you’re ready to get a prototype made, or if you’re evaluating a machining partner who can support both development and production, contact Firstar to start the conversation.